
Cream Cheese Frosting Recipe – Smooth, Tangy & Perfect for Any Dessert
1. Introduction
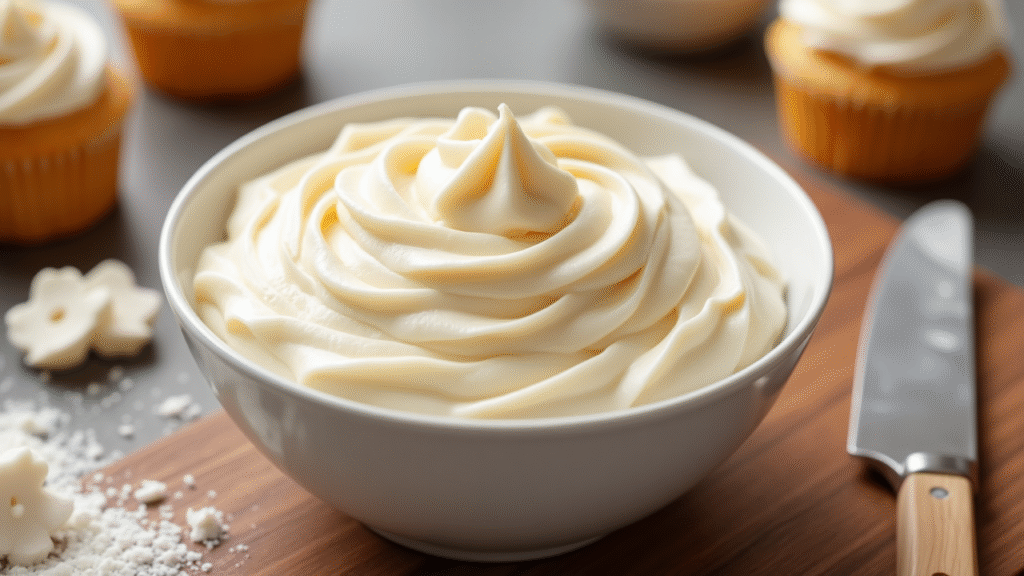
There’s something magical about cream cheese frosting—it’s smooth, luscious, tangy, and perfectly sweet without being overwhelming. It’s the kind of frosting that turns a simple cake into a showstopper and makes cupcakes downright irresistible. Whether you’re spreading it over a classic carrot cake, piping it onto red velvet cupcakes, or sandwiching it between cookies, cream cheese frosting brings that bakery-style touch right into your home kitchen.
In this recipe, you’ll learn exactly how to make the creamiest cream cheese frosting with just a handful of ingredients. I’ll share my tips to ensure it’s not runny, overly sweet, or too stiff, plus ideas for flavor variations and how to store it so it stays fresh and delicious.
2. Ingredients Breakdown
1. Cream Cheese
The star of the show! Use full-fat brick-style cream cheese for the best texture and flavor. Avoid the tub version—it’s softer and can make the frosting runny.
2. Unsalted Butter
Adds richness and stability to the frosting. Make sure it’s softened to room temperature so it blends easily.
3. Powdered Sugar (Confectioners’ Sugar)
Sweetens and thickens the frosting. Sift it first to avoid lumps for a smooth finish.
4. Vanilla Extract
Adds warmth and depth to the flavor. For an extra twist, try almond or maple extract.
5. Pinch of Salt (Optional)
Balances the sweetness and enhances the tang of the cream cheese.
Common Substitutions:
- Dairy-free? Use vegan cream cheese and plant-based butter.
- Less sweet? Reduce powdered sugar slightly, but note the frosting will be softer.
3. Step-by-Step Instructions
Step 1 – Soften Ingredients
Place cream cheese and butter on the counter for 30–45 minutes to soften. This ensures smooth blending without lumps.
Step 2 – Beat Cream Cheese & Butter
In a large mixing bowl, beat cream cheese and butter together with an electric mixer on medium speed until smooth and creamy, about 2–3 minutes.
Step 3 – Add Vanilla Extract
Mix in vanilla extract until combined. This is also the stage to add any other flavor extracts if desired.
Step 4 – Gradually Add Powdered Sugar
Reduce mixer speed to low. Add powdered sugar 1 cup at a time, mixing after each addition until incorporated. Scrape down the sides of the bowl as needed.
Step 5 – Adjust Consistency
If frosting is too thick, add 1 teaspoon of milk or cream. If too soft, add more powdered sugar (1–2 tablespoons at a time) until desired texture is reached.
Step 6 – Use or Store
Frost cakes, cupcakes, or cookies immediately, or store for later use.
4. Tips and Variations
Expert Tips for the Best Results:
- Room Temperature Ingredients: Prevents lumps and ensures creaminess.
- Don’t Overbeat: Too much mixing can make the frosting runny.
- Sift the Sugar: Guarantees a smooth texture without graininess.
Variations:
- Chocolate Cream Cheese Frosting: Add ½ cup unsweetened cocoa powder.
- Cinnamon Cream Cheese Frosting: Mix in 1 teaspoon ground cinnamon.
- Citrus Twist: Add 1–2 teaspoons lemon or orange zest.
- Maple Cream Cheese Frosting: Replace part of the sugar with maple syrup (reduce other liquids).
5. Serving Suggestions
Pair cream cheese frosting with:
- Carrot Cake – The ultimate classic combo.
- Red Velvet Cupcakes – For that iconic pairing.
- Pumpkin Bread – Adds richness and tang.
- Sugar Cookies – Spread or pipe for a bakery look.
Garnish Ideas:
- Sprinkle with chopped nuts (pecans, walnuts).
- Dust with cinnamon or cocoa powder.
- Add edible flowers for a charming finish.
Pairings:
- Serve with a hot cup of coffee or chai tea.
- Include on a dessert platter for afternoon tea.
6. Storage and Reheating Instructions
Storage:
- Fridge: Store in an airtight container for up to 5 days.
- Freezer: Freeze for up to 1 month. Thaw in the refrigerator before using.
Re-whipping:
If frosting stiffens in the fridge, let it sit at room temperature for 15–20 minutes, then beat briefly before using.
7. Recipe Notes
- Can be made ahead of time and stored in the fridge until ready to use.
- Best with freshly softened cream cheese and butter for maximum creaminess.
- If piping, chill frosting for 10–15 minutes for better hold.
8. Nutrition Information (Per Serving)
| Nutrient | Amount |
|---|---|
| Calories | 210 |
| Fat | 12g |
| Saturated Fat | 8g |
| Carbohydrates | 24g |
| Sugar | 23g |
| Fiber | 0g |
| Protein | 2g |
| Sodium | 85mg |
| Cholesterol | 35mg |
| Calcium | 30mg |
| Iron | 0.1mg |
Nutrition information is an estimate and may vary based on specific ingredients used.
9. Recipe Card Summary
Course: Dessert Topping/Frosting
Cuisine: American
Servings: 12
Prep Time: 10 minutes
Cook Time: 0 minutes
Total Time: 10 minutes
Ingredients:
- 8 oz cream cheese, softened
- ½ cup unsalted butter, softened
- 3–4 cups powdered sugar, sifted
- 1 tsp vanilla extract
- Pinch of salt (optional)
Instructions:
- Beat cream cheese and butter until smooth.
- Mix in vanilla extract.
- Gradually add powdered sugar until desired sweetness and thickness.
- Adjust consistency if needed.
- Use immediately or store.
Notes:
- Use full-fat brick-style cream cheese for best results.
- Can be made ahead and stored in fridge or freezer.
Nutrition: (Per Serving)
Calories: 210 | Fat: 12g | Saturated Fat: 8g | Carbs: 24g | Sugar: 23g | Fiber: 0g | Protein: 2g | Sodium: 85mg | Cholesterol: 35mg | Calcium: 30mg | Iron: 0.1mg
🏷️ Diet Tags: Vegetarian, Gluten-Free (if used with gluten-free desserts)
🌿 Health Benefits: Contains calcium and protein from dairy, but should be enjoyed in moderation due to sugar content.
FAQs:
Q: Can I make cream cheese frosting less sweet? Yes, reduce powdered sugar and add cornstarch for stability.
Q: Can I color cream cheese frosting? Absolutely! Use gel food coloring for vibrant results without affecting texture.
Q: Can I pipe cream cheese frosting? Yes, chill slightly for firmer texture before piping.
10. Final Thoughts
Whether you’re frosting a birthday cake, whipping up a batch of cupcakes, or adding a special touch to cookies, cream cheese frosting is a game-changer in the dessert world. Its creamy, tangy sweetness complements so many flavors and is easy enough for beginners to master.
Try it for your next baking project, and let me know how it turns out in the comments—I’d love to hear what you paired it with and if you tried any fun variations.