
Kiwi Milkshake – Creamy, Tangy & Refreshingly Sweet
1. Introduction
If you’re looking for a refreshing, sweet treat that’s easy to whip up in minutes, this Kiwi Milkshake is exactly what you need! Whether you’re craving something cool on a warm day or just in the mood for a fruity, creamy indulgence, this milkshake offers the perfect balance of tangy kiwi and smooth creaminess. It’s a simple yet delicious drink that combines the best of summer fruits with a touch of indulgence.
The beauty of this kiwi milkshake lies not only in its refreshing taste but also in how easily it can be customized. You can play around with sweetness levels, add your favorite dairy or non-dairy options, or even add a scoop of ice cream for a richer treat. In this recipe, you’ll learn how to make the most flavorful, creamy, and satisfying kiwi milkshake in just a few easy steps. Let’s get started!
2. Ingredients Breakdown
- Fresh Kiwi: The star of the show, kiwi adds a vibrant green color and a tangy sweetness to the milkshake. It’s packed with vitamin C and antioxidants. For a sweeter drink, feel free to use ripe kiwis or even combine with other fruits.
- Milk: Whole milk or your preferred dairy or non-dairy milk (such as almond, oat, or coconut milk) creates the creamy base of the shake. Adjust the amount depending on how thick you like your milkshake.
- Ice Cream (optional): Vanilla ice cream adds extra creaminess and sweetness. If you’re looking for a vegan alternative, coconut or almond milk-based ice cream is a great choice.
- Honey or Sugar: Depending on the level of sweetness you desire, you can add honey, agave syrup, or plain sugar. Honey will also give your milkshake a nice floral note, while sugar will offer a simple, classic sweetness.
- Ice: Ice helps thicken and chill the milkshake, giving it that perfectly smooth consistency.
- Mint leaves (optional): For a refreshing touch and garnish.
3. Step-by-Step Instructions
- Prepare the Kiwi: Start by peeling the kiwi and cutting it into chunks. Place the chunks into a blender.
- Add the Milk and Ice Cream: Pour in your choice of milk (about 1 cup) and a scoop of vanilla ice cream for extra creaminess.
- Blend Together: Add ice cubes to the blender (about ½ cup). Blend the mixture on high speed until smooth and creamy. Adjust the milk if you prefer a thinner or thicker consistency.
- Taste and Sweeten: Taste the milkshake and, if needed, add a spoonful of honey or sugar. Blend again for a few seconds to mix in the sweetener.
- Serve: Pour the milkshake into a tall glass, garnish with kiwi slices and a sprig of fresh mint, if desired. Serve immediately.
4. Tips and Variations
- Sweetness Adjustment: If the kiwis aren’t as ripe or sweet as you’d like, increase the amount of sweetener. Alternatively, for a tangier milkshake, reduce the sugar.
- Vegan Version: Use dairy-free milk (like almond, oat, or soy milk) and a plant-based ice cream for a completely vegan treat.
- Boost the Flavor: Add a handful of fresh spinach or kale to give your milkshake a healthy boost without changing the flavor. The kiwi hides the green veggies perfectly!
- Ice Cream Variation: Feel free to experiment with different ice cream flavors like coconut, strawberry, or even a scoop of sorbet for a dairy-free treat.
5. Serving Suggestions
- Pairing with Snacks: This milkshake goes wonderfully with light snacks like almond cookies, fruit salad, or toasted baguette slices with goat cheese. For a more substantial pairing, try a fresh chicken or vegetable wrap.
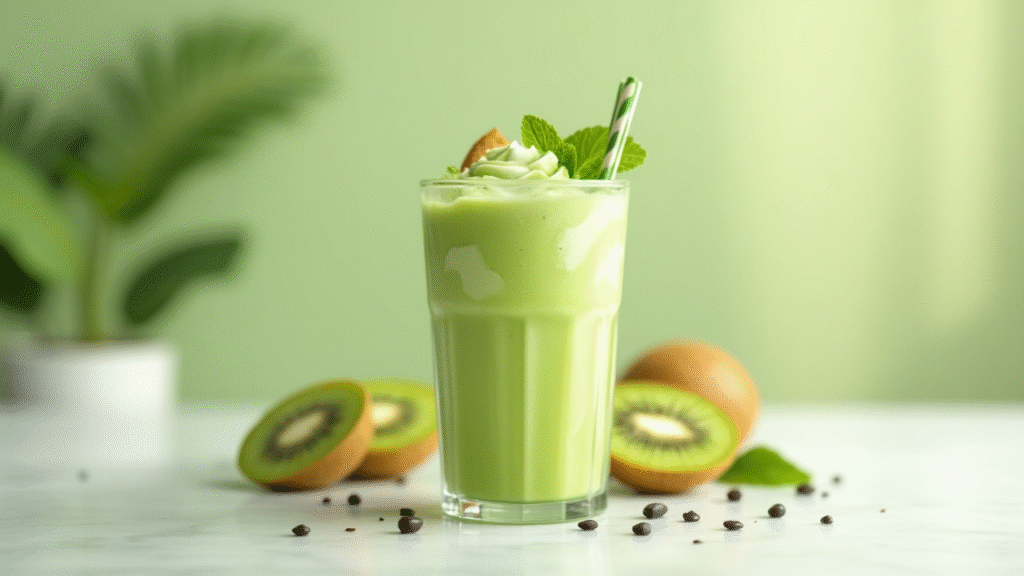
- Presentation Ideas: Serve your milkshake in a tall glass with a colorful straw. You can also rim the glass with crushed kiwi for an added visual touch. Adding a few mint leaves will bring a fresh pop of color.
6. Storage and Reheating Instructions
While milkshakes are best enjoyed fresh, you can store leftovers in the fridge for up to 24 hours. If the milkshake has separated, just give it a quick stir before drinking.
Reheating: This milkshake is best served cold and doesn’t require reheating. However, if you prefer it chilled further, you can place the milkshake in the freezer for 10–15 minutes before serving. Just make sure to stir it to restore its creamy texture before drinking.
7. Recipe Notes
- Prep Ahead: If you’re planning to serve this milkshake at a later time, you can prep the ingredients (peeled kiwi, ice cream, and milk) the night before and store them in the fridge or freezer for easy assembly the next day.
- Use Fresh Kiwi: While frozen kiwis work in a pinch, fresh kiwi provides a much better flavor and texture for this milkshake.
- Blender Type: If you have a high-powered blender, your milkshake will come out extra smooth. If you have a regular blender, make sure to blend for a little longer to get the same creamy consistency.
8. Nutrition Information (Per Serving)
| Nutrient | Value per Serving |
| Calories | 200 |
| Fat | 7g |
| Saturated Fat | 3g |
| Carbs | 30g |
| Sugar | 25g |
| Fiber | 4g |
| Protein | 3g |
| Sodium | 50mg |
| Cholesterol | 25mg |
| Calcium | 120mg |
| Iron | 1mg |
Nutrition information is an estimate and may vary based on specific ingredients used.
9. Recipe Card Summary
- Course: Drink
- Cuisine: American
- Servings: 2
- Prep Time: 5 minutes
- Cook Time: 0 minutes
- Total Time: 5 minutes
Ingredients:
- 2 fresh kiwis, peeled and chopped
- 1 cup milk (dairy or non-dairy)
- 1 scoop vanilla ice cream (optional)
- 1-2 tablespoons honey or sugar (to taste)
- ½ cup ice cubes
- Mint leaves for garnish (optional)
Instructions:
- Peel and chop the kiwis. Place in a blender.
- Add milk, ice cream, and ice cubes to the blender.
- Blend until smooth and creamy.
- Taste and add sweetener as desired. Blend again.
- Pour into glasses, garnish with kiwi slices and mint leaves.
- Serve and enjoy!
Notes: Use a 6-quart blender for best results. Can be prepped ahead of time.
Nutrition Information: See above.
10. Final Thoughts or Conclusion
This Kiwi Milkshake is perfect for satisfying your sweet tooth while offering a refreshing burst of fruit. It’s a drink the whole family will love, and with just a few simple ingredients, you can easily make it your own. Whether you’re enjoying it as a treat on a warm day or as a quick dessert after dinner, this recipe is sure to become a favorite in your home