
Chocolate-Covered Pretzels Recipe | Sweet and Salty Snack Idea
1. Introduction
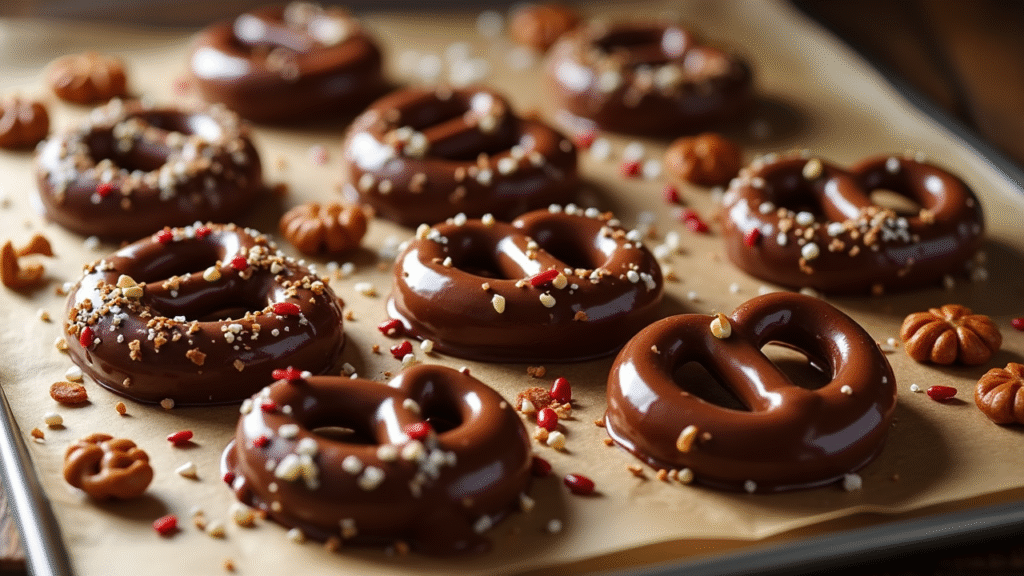
Chocolate and pretzels—two of the most beloved snack items—combine in the perfect marriage of salty and sweet with Chocolate-Covered Pretzels. If you’ve never made these at home, you’re in for a treat. Not only are they easy to prepare, but they’re also incredibly versatile, allowing you to customize the toppings and flavors to suit your preferences.
The contrast of crispy, salty pretzels and smooth, rich chocolate creates a snack that’s undeniably addictive. Whether you’re looking for an afternoon pick-me-up, a last-minute gift idea, or a delicious snack for a party, Chocolate-Covered Pretzels are a crowd-pleasing favorite that’s simple to make and even easier to enjoy.
In this post, I’ll walk you through the process of making these delectable treats, including ingredient breakdowns, step-by-step instructions, tips, variations, and nutrition information. You’ll soon discover why this recipe should be a regular in your snacking repertoire.
2. Ingredients Breakdown
Here’s a detailed breakdown of the main ingredients you’ll need to make Chocolate-Covered Pretzels:
Main Ingredients:
- Pretzels (about 4 cups):
Use mini pretzels for bite-sized treats, or go for regular-sized pretzels if you want a heartier option. The crunch of the pretzel perfectly balances the richness of the chocolate. - Chocolate (12 oz, chopped or chips):
The star of the show! You can use dark chocolate for a richer flavor, milk chocolate for sweetness, or white chocolate for a creamy, milder taste. If you’re making these for a crowd with varying tastes, you could even use a mix of chocolates. - Toppings (optional, for garnishing):
- Sprinkles: Colorful sprinkles add a festive touch.
- Crushed nuts (like almonds or pecans): Adds crunch and depth.
- Sea salt: A sprinkle of sea salt enhances the flavor contrast between the sweet chocolate and salty pretzels.
- Shredded coconut or mini marshmallows: For a fun, tropical twist or a gooey texture.
- Sprinkles: Colorful sprinkles add a festive touch.
Common Substitutions:
- Pretzels: If you’re avoiding gluten, opt for gluten-free pretzels. You could also try graham crackers for a different base if you’re feeling adventurous.
- Chocolate: Dairy-free or vegan chocolate can replace traditional milk chocolate for those with dietary restrictions. Simply ensure the chocolate you choose is free from dairy if you need a vegan option.
- Toppings: Get creative with toppings! Try toffee bits, chopped dried fruit, or drizzles of caramel sauce for added flavor and texture.
3. Step-by-Step Instructions
Step 1: Prepare Your Pretzels
- Lay out the pretzels:
Place the pretzels on a large baking sheet or a piece of parchment paper, keeping them in a single layer. This makes the dipping process easier and cleaner.
Step 2: Melt the Chocolate
- Melt the chocolate:
You can melt the chocolate in a double boiler or microwave:
- Double boiler method: Place the chocolate in a heatproof bowl set over a saucepan of simmering water. Stir the chocolate until smooth and fully melted.
- Microwave method: Place the chocolate in a microwave-safe bowl and microwave in 20-30 second intervals, stirring between each, until melted and smooth.
- Double boiler method: Place the chocolate in a heatproof bowl set over a saucepan of simmering water. Stir the chocolate until smooth and fully melted.
Step 3: Dip the Pretzels
- Dip each pretzel into the melted chocolate:
Using a fork or tongs, dip each pretzel into the melted chocolate, ensuring it’s fully coated. Let any excess chocolate drip off by gently tapping the fork on the side of the bowl. - Lay the dipped pretzel on parchment paper:
Place the coated pretzels back onto the parchment paper to harden. Repeat for all the pretzels.
Step 4: Add the Toppings (Optional)
- Sprinkle toppings:
Before the chocolate sets, sprinkle the pretzels with your desired toppings, such as sprinkles, chopped nuts, or a pinch of sea salt. This step adds extra flavor and texture to your chocolate-covered pretzels.
Step 5: Let the Chocolate Set
- Allow the chocolate to harden:
Let the pretzels cool and the chocolate set at room temperature. If you’re in a hurry, you can refrigerate them for 20-30 minutes to speed up the process.
Step 6: Serve and Enjoy!
- Enjoy your treats:
Once the chocolate is fully set, you can enjoy your Chocolate-Covered Pretzels! They’re perfect for snacking, serving at parties, or gifting to loved ones.
4. Tips and Variations
- For smooth, glossy chocolate: If the chocolate becomes too thick while melting, stir in a teaspoon of vegetable oil or coconut oil to loosen it up and give it a smooth finish.
- Flavor variations:
- Add vanilla extract to the melted chocolate for a deeper flavor.
- Experiment with different chocolates—use a mix of milk and dark chocolate for a balanced flavor.
- You can even make these into marbled chocolate pretzels by swirling dark and white chocolate together.
- Add vanilla extract to the melted chocolate for a deeper flavor.
- Gluten-Free Options:
If you’re following a gluten-free diet, choose gluten-free pretzels and check that the chocolate you use is also gluten-free. - Vegan Option:
Use dairy-free chocolate and vegan pretzels to make these treats completely plant-based.
5. Serving Suggestions
While Chocolate-Covered Pretzels are perfect on their own, here are a few ways to elevate your serving experience:
- Pair with a cold drink:
Serve these chocolate-covered pretzels with a glass of milk, hot chocolate, or coffee. The creamy beverage balances the sweetness of the chocolate and saltiness of the pretzels. - Garnish ideas:
Add a drizzle of caramel sauce or whipped cream for an extra touch of indulgence. - Make it a dessert board:
Serve these pretzels alongside other sweet treats, such as cookies, fruit, and chocolate truffles on a dessert board for a fun and shareable snack.
6. Storage and Reheating Instructions
Storage:
Store your Chocolate-Covered Pretzels in an airtight container at room temperature for up to 1-2 weeks. If you live in a warmer climate, it’s best to store them in the fridge to prevent the chocolate from melting.
Reheating:
Although these pretzels are best enjoyed fresh, you can reheat the chocolate (if it softens) by placing the pretzels in a warm oven (around 200°F) for 5-10 minutes. Avoid microwaving them directly as the chocolate may become too soft and sticky.
7. Recipe Notes
- Prep Ahead: You can prep these pretzels a day or two in advance and store them in an airtight container. They make an excellent make-ahead treat for parties or gifts.
- Customizing Toppings:
Get creative with your toppings! Try adding chopped dried fruit like cranberries, raisins, or apricots for a chewy, fruity texture. - Double-Dip for Extra Chocolate:
If you want an even thicker chocolate coating, dip each pretzel twice—allowing the chocolate to set between dips.
8. Nutrition Information (Per Serving)
| Nutrient | Amount per Serving |
| Calories | 180 |
| Fat | 10g |
| Saturated Fat | 5g |
| Carbohydrates | 22g |
| Sugar | 18g |
| Fiber | 1g |
| Protein | 2g |
| Sodium | 90mg |
| Cholesterol | 10mg |
| Calcium | 30mg |
| Iron | 1mg |
Note: Nutrition information is an estimate and may vary based on specific ingredients used.
9. Recipe Card Summary
Course: Snack
Cuisine: American
Servings: 10
Prep Time: 15 minutes
Cook Time: 5 minutes
Total Time: 20 minutes
Ingredients:
- 4 cups mini pretzels
- 12 oz chocolate (milk, dark, or white)
- Optional toppings: sprinkles, chopped nuts, sea salt, coconut flakes
Instructions:
- Lay pretzels on a baking sheet lined with parchment paper.
- Melt chocolate in a double boiler or microwave.
- Dip pretzels into the chocolate, tapping off excess.
- Add toppings while the chocolate is still soft.
- Allow the chocolate to set at room temperature or refrigerate.
- Serve and enjoy!
Notes:
- Can be stored in an airtight container for up to 2 weeks.
Nutrition:
- 180 calories per serving.
10. Final Thoughts or CONCLUSION
These Chocolate-Covered Pretzels are the perfect snack for any occasion. Whether you’re preparing for a movie night, a party, or just a simple treat, these bite-sized delights will quickly become a favorite. With the sweet chocolate and salty pretzels, there’s no going wrong. I hope you enjoy making these at home as much as I do! Don’t forget to share your results in the comments below. Happy snacking!