
Coconut Caramel Brownies Recipe – Rich & Decadent Dessert
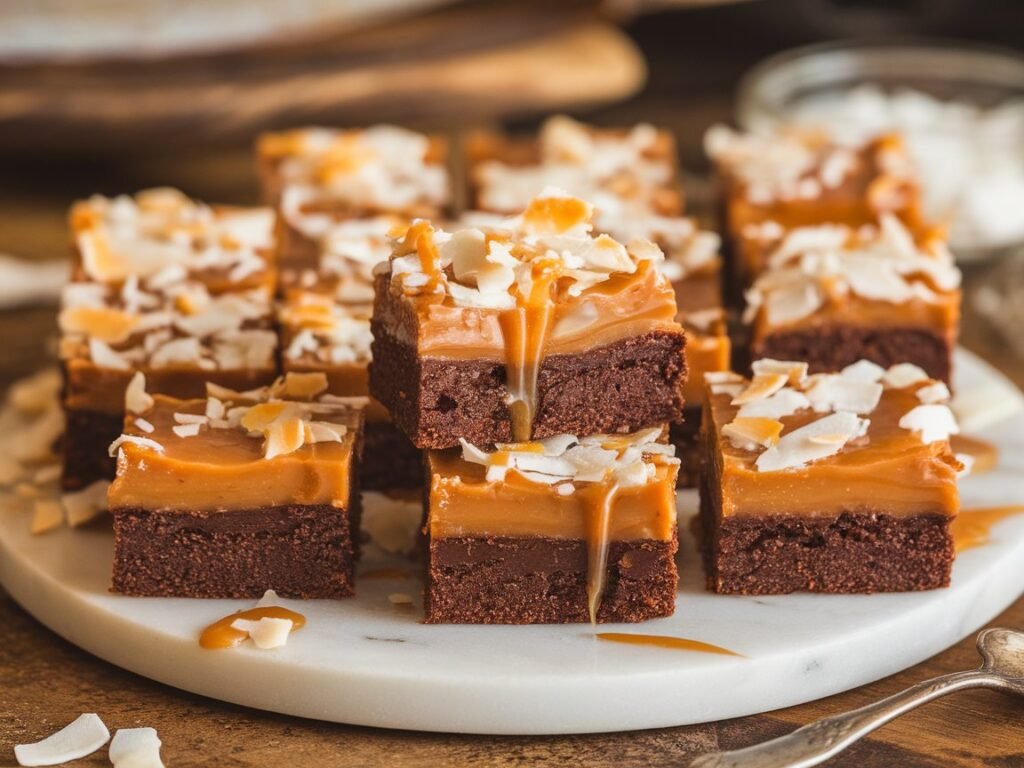
Imagine biting into the perfect trifecta of dessert indulgence – rich, fudgy chocolate brownies as the foundation, a layer of silky, gooey caramel that stretches as you pull each piece apart, and a crown of golden, toasted coconut that adds both texture and tropical sweetness. These Coconut Caramel Brownies represent everything wonderful about layered desserts, where each component enhances the others to create something far greater than the sum of its parts.
What makes these brownies truly special is how they manage to be both sophisticated enough for elegant dinner parties and comforting enough for casual family gatherings. The homemade caramel layer elevates them far above typical boxed brownie mixes, while the toasted coconut adds an unexpected tropical twist that keeps people guessing about your secret ingredient. The contrast between the dense, chocolatey base and the light, chewy coconut creates textural interest that makes every bite exciting.
You’ll discover the secrets to creating perfectly fudgy brownies that don’t overbake, master the technique for making smooth, pourable caramel that won’t crystallize, and learn how to toast coconut to golden perfection without burning. These skills will serve you well beyond this recipe, giving you the confidence to tackle other layered desserts and caramel-based treats with professional-level results.
Ingredients Breakdown
For the Brownie Base:
- 1/2 cup unsalted butter – Provides richness and helps create the fudgy texture. Use European-style butter with higher fat content for the most decadent results. Avoid margarine, which can make brownies taste artificial.
- 4 oz dark chocolate, chopped – Choose chocolate with 60-70% cacao content for the perfect balance of sweetness and chocolate intensity. Higher percentages can make brownies too bitter, while lower percentages lack depth.
- 1 cup granulated sugar – Creates structure and sweetness while contributing to the characteristic brownie crust. Don’t substitute brown sugar here, as it will change the texture significantly.
- 2 large eggs – Room temperature eggs incorporate more easily and create better texture. They provide structure and help bind the ingredients while adding richness.
- 1/2 cup all-purpose flour – Provides just enough structure without making the brownies cakey. Measure carefully – too much flour results in dry, dense brownies.
- 1/4 cup unsweetened cocoa powder – Intensifies the chocolate flavor and adds color. Dutch-processed cocoa creates a darker, more sophisticated flavor than natural cocoa.
- 1/4 teaspoon salt – Enhances all other flavors and balances sweetness. A crucial ingredient that many bakers overlook.
- 1 teaspoon vanilla extract – Adds depth and rounds out the chocolate flavor. Pure vanilla extract provides better flavor than imitation.
For the Caramel Layer:
- 1 cup granulated sugar – The foundation of caramel. Use fresh sugar – old or clumpy sugar can cause crystallization problems.
- 1/4 cup water – Helps dissolve the sugar evenly. Use filtered water if your tap water is heavily chlorinated, as this can affect caramel flavor.
- 1/3 cup heavy cream – Creates smooth, creamy caramel. Must be at room temperature to prevent the hot caramel from seizing when added.
- 3 tablespoons unsalted butter – Adds richness and helps create silky texture. Cut into small pieces for easier incorporation.
- 1/2 teaspoon sea salt – Creates the perfect sweet-salty balance that makes caramel irresistible. Use flaky sea salt for the best flavor and texture.
For the Coconut Topping:
- 1 1/2 cups sweetened shredded coconut – The sweetened variety provides the best flavor and texture for this recipe. Unsweetened coconut can be substituted if you prefer less sweetness.
- 2 tablespoons butter, melted – Helps the coconut toast evenly and adds richness. Can be substituted with coconut oil for enhanced coconut flavor.
- 2 tablespoons heavy cream – Helps bind the coconut and creates a more cohesive topping layer.
Optional Enhancements:
- 1/4 cup mini chocolate chips – Can be folded into the brownie batter for extra chocolate bursts.
- 1/2 teaspoon coconut extract – Enhances the tropical flavor if you want more pronounced coconut taste.
Common Substitutions: For gluten-free versions, substitute almond flour or a gluten-free flour blend, though texture will be slightly different. Those avoiding dairy can use coconut cream and vegan butter, which actually enhances the coconut flavor. For refined sugar-free options, coconut sugar works in the brownie base but isn’t recommended for caramel making as it doesn’t caramelize properly.
Step-by-Step Instructions
Step 1: Prepare Pan and Make Brownie Base Preheat oven to 350°F and line an 8×8-inch baking pan with parchment paper, leaving overhang for easy removal. In a microwave-safe bowl, melt butter and chopped chocolate in 30-second intervals, stirring between each, until completely smooth. Let cool slightly. In a separate bowl, whisk together sugar and eggs until well combined, then stir in the chocolate mixture and vanilla. Sift together flour, cocoa powder, and salt, then fold into the chocolate mixture just until combined – don’t overmix.
Step 2: Bake the Brownie Layer Pour brownie batter into prepared pan and spread evenly. Bake for 25-30 minutes, until a toothpick inserted in center comes out with a few moist crumbs attached – not completely clean. The top should look set but still slightly soft. Remove from oven and cool completely in the pan before adding the caramel layer. This cooling step is crucial to prevent the caramel from soaking into the brownies.
Step 3: Make the Caramel In a heavy-bottomed saucepan, combine sugar and water over medium heat without stirring. Allow the mixture to come to a boil and cook until it turns a deep amber color, about 8-12 minutes. Watch carefully during the last few minutes as caramel can go from perfect to burnt quickly. Remove from heat and immediately whisk in the room temperature cream – it will bubble vigorously. Add butter pieces one at a time, whisking until smooth, then stir in sea salt.
Step 4: Add Caramel Layer Pour the warm caramel over the cooled brownie base, spreading it evenly with an offset spatula. The caramel should cover the entire surface but doesn’t need to be perfectly smooth. Allow to cool at room temperature for 30 minutes, then refrigerate for at least 1 hour until the caramel is set but still slightly soft to the touch.
Step 5: Prepare Coconut Topping While caramel sets, preheat oven to 325°F. Toss shredded coconut with melted butter and spread on a baking sheet. Toast for 8-12 minutes, stirring every 3 minutes, until golden brown and fragrant. Watch carefully as coconut can burn quickly. Remove from oven and stir in heavy cream while coconut is still warm. Let cool completely.
Step 6: Assemble Final Layer Once caramel is set, evenly distribute the toasted coconut mixture over the surface, pressing gently to help it adhere. Return to refrigerator for another 30 minutes to allow all layers to set completely before cutting.
Step 7: Cut and Serve Using the parchment paper overhang, lift brownies from pan and transfer to a cutting board. Use a sharp knife wiped clean between cuts to create neat squares. For the cleanest cuts, run the knife under warm water and dry between each cut. Store covered until ready to serve.
Tips and Variations
Expert Baking Tips: Room temperature ingredients mix more easily and create better texture, so plan ahead and remove eggs and cream from the refrigerator 30 minutes before baking. The quality of your chocolate significantly impacts the final result – invest in good chocolate for the best flavor.
When making caramel, resist the urge to stir the sugar as it melts, as this can cause crystallization. If crystals do form, add a tablespoon of water and continue cooking until dissolved.
Texture Variations: For chewier brownies, slightly underbake the base by 2-3 minutes. For a more cake-like texture, add an extra egg and bake 2-3 minutes longer. The caramel layer can be made thicker or thinner by adjusting the amount – just ensure it sets properly before adding coconut.
Flavor Enhancements: Add espresso powder to the brownie base for mocha undertones that complement both caramel and coconut. A tablespoon of bourbon in the caramel creates sophisticated depth for adult gatherings.
Lime zest in the coconut layer provides bright contrast to the rich base layers. Dark rum extract enhances the tropical theme while adding complexity.
Make-Ahead Strategies: These brownies actually improve after sitting overnight, as flavors meld and textures settle. Make them up to 3 days ahead and store covered in the refrigerator. Bring to room temperature before serving for the best texture.
The brownie base can be made and frozen for up to 1 month before adding toppings. Thaw completely before proceeding with caramel and coconut layers.
Presentation Variations: Cut into different shapes using cookie cutters for special occasions. Drizzle with additional melted chocolate or caramel for elegant presentation. Individual mini brownies baked in muffin tins create perfect portion control and impressive presentations.
Serving Suggestions
Elegant Presentation Ideas: Serve these brownies on white porcelain plates to showcase their beautiful layers and colors. A small dollop of vanilla bean ice cream or freshly whipped cream provides temperature and texture contrast that enhances the overall experience.
For dinner parties, dust plates lightly with cocoa powder and add a few fresh berries for color contrast. A small drizzle of additional caramel sauce around the plate creates professional-looking presentations.
Casual Serving Options: These brownies are perfect for potluck dinners, bake sales, and casual gatherings. Cut into smaller squares for parties where guests will be eating finger foods, or larger portions for dessert-focused occasions.
Serve with cold milk, hot coffee, or tea for comforting afternoon treats. The rich flavors pair particularly well with bold coffee that can stand up to the sweetness.
Seasonal Adaptations: During summer, serve slightly chilled for refreshing contrast to hot weather. Winter presentations can include warm caramel sauce drizzled over individual portions and a sprinkle of cinnamon.
Holiday versions can incorporate seasonal spices like cardamom or nutmeg in the coconut layer, or add red and green sprinkles for festive color.
Beverage Pairings: Rich dessert wines like port or sherry complement the caramel flavors beautifully. For non-alcoholic options, try coconut milk-based beverages, cold brew coffee, or chai tea that echoes some of the warm spice notes.
Beer pairings work surprisingly well – try chocolate stouts or coconut-flavored ales that enhance rather than compete with the dessert flavors.
Storage and Reheating Instructions
Room Temperature Storage: These brownies can be stored covered at room temperature for up to 3 days in cool, dry conditions. Use airtight containers or cover tightly with plastic wrap to prevent the coconut from becoming stale.
Cut pieces can be individually wrapped for grab-and-go convenience, though they’re best stored as a whole piece and cut as needed to maintain optimal texture.
Refrigerator Storage: For longer storage or in warm climates, refrigerate for up to 1 week. The caramel layer firms up when cold, creating different but equally delicious texture. Allow to come to room temperature for 15-20 minutes before serving for the best eating experience.
Store in airtight containers to prevent absorption of other flavors and to maintain the coconut’s texture and flavor.
Freezing Instructions: These brownies freeze beautifully for up to 3 months when properly wrapped. Cut into individual portions and wrap each piece in plastic wrap, then place in freezer-safe containers or bags.
For whole pan freezing, wrap the entire uncut pan tightly in plastic wrap and aluminum foil. Label with contents and date for easy identification.
Thawing and Serving Thaw individual pieces at room temperature for 30-45 minutes, or overnight in the refrigerator for whole pans. Don’t microwave frozen brownies as this can make them soggy and affect the caramel texture.
Thawed brownies taste just as good as fresh ones, making them perfect for advance preparation for special occasions.
Recipe Notes
Equipment Essentials: A heavy-bottomed saucepan is crucial for making caramel – thin pans create hot spots that can burn the sugar before it caramelizes properly. An instant-read thermometer isn’t necessary but can help beginners gauge caramel color.
An 8×8-inch pan creates the perfect thickness for these layered brownies. Larger pans will result in thinner layers that may not set properly, while smaller pans can cause overflow during baking.
Timing Considerations: Plan for about 4 hours from start to finish, including cooling and setting time. Most of this is hands-off time, but the caramel requires active attention during cooking.
The cooling steps are crucial for proper layering – rushing the process results in layers that blend together rather than maintaining distinct textures and appearances.
Ingredient Quality Impact: High-quality chocolate makes a noticeable difference in the final product. The caramel showcases butter quality, so use the best you can afford for optimal flavor.
Fresh coconut that hasn’t been sitting on shelves for months provides better flavor and texture. Check expiration dates and choose packages with the most distant dates.
Troubleshooting Common Issues: If caramel crystallizes, add water and reheat gently until crystals dissolve. Burnt caramel cannot be saved – start over if it becomes too dark.
Overbaked brownies become dry and don’t pair well with the moist toppings. Slightly underbake rather than risk overbaking.
Nutrition Information
| Nutrient | Per Serving (1 piece, 16 servings) |
|---|---|
| Calories | 285 |
| Total Fat | 14g |
| Saturated Fat | 10g |
| Carbohydrates | 38g |
| Sugar | 32g |
| Fiber | 2g |
| Protein | 3g |
| Sodium | 125mg |
| Cholesterol | 45mg |
| Calcium | 35mg |
| Iron | 1.2mg |
Nutrition information is an estimate and may vary based on specific ingredients used.
Recipe Card Summary
Course: Dessert Cuisine: American Servings: 16 Prep Time: 30 minutes Cook Time: 45 minutes Total Time: 4 hours (including cooling time)
Ingredients:
Brownie Base:
- 1/2 cup unsalted butter
- 4 oz dark chocolate, chopped
- 1 cup granulated sugar
- 2 large eggs
- 1/2 cup all-purpose flour
- 1/4 cup unsweetened cocoa powder
- 1/4 teaspoon salt
- 1 teaspoon vanilla extract
Caramel Layer:
- 1 cup granulated sugar
- 1/4 cup water
- 1/3 cup heavy cream
- 3 tablespoons unsalted butter
- 1/2 teaspoon sea salt
Coconut Topping:
- 1 1/2 cups sweetened shredded coconut
- 2 tablespoons butter, melted
- 2 tablespoons heavy cream
Instructions:
- Make brownie base by melting chocolate and butter, mixing with sugar, eggs, and dry ingredients
- Bake at 350°F for 25-30 minutes, cool completely
- Make caramel by cooking sugar and water until amber, then adding cream, butter, and salt
- Pour caramel over cooled brownies, refrigerate 1 hour
- Toast coconut with butter at 325°F for 8-12 minutes, mix with cream
- Top brownies with coconut mixture, refrigerate 30 minutes
- Cut with sharp knife and serve
Notes: Cool completely between layers for best results. Store covered up to 1 week. Can be made 3 days ahead.
Diet Tags
Vegetarian: Yes Gluten-Free: Use gluten-free flour blend Dairy-Free: Substitute coconut cream and vegan butter Nut-Free: Yes (check chocolate ingredients) Refined Sugar-Free: Not recommended for caramel layer
Health Benefits
While these are definitely an indulgent treat, they do offer some nutritional benefits. Dark chocolate provides antioxidants and may support heart health when consumed in moderation. Coconut contains healthy medium-chain fatty acids and adds fiber to the dessert.
The eggs provide high-quality protein and important nutrients like choline. When enjoyed as an occasional treat rather than daily indulgence, these brownies can be part of a balanced diet that includes room for life’s little pleasures.
The homemade nature allows control over ingredient quality and eliminates preservatives found in many commercial desserts.
Frequently Asked Questions
1. Can I use store-bought caramel instead of making my own? While homemade caramel provides the best flavor and texture, you can use high-quality store-bought caramel sauce in a pinch. You’ll need about 3/4 cup, warmed slightly for easier spreading. The texture won’t be quite as perfect, but it will still be delicious.
2. Why did my caramel turn grainy or crystallize? Crystallization usually happens from stirring the sugar while it melts, or from sugar crystals on the sides of the pan falling back into the mixture. To prevent this, don’t stir during cooking and brush down pan sides with a wet pastry brush if needed.
3. Can I make these brownies in a different pan size? An 8×8-inch pan creates the ideal thickness for layering. A 9×9-inch pan will work but layers will be thinner. Don’t use larger pans as the layers become too thin to set properly. For 9×13-inch pans, double the recipe.
4. How do I know when the brownies are done baking? Look for a set surface that springs back lightly when touched, and a toothpick that comes out with a few moist crumbs – not wet batter but not completely clean either. The edges should just start pulling away from the pan sides.
5. Can I freeze these brownies with all the layers? Yes, fully assembled brownies freeze beautifully for up to 3 months. Wrap individual pieces in plastic wrap and store in freezer containers. Thaw at room temperature for best texture. The caramel may firm up but returns to perfect consistency as it reaches room temperature.
Final Thoughts
These Coconut Caramel Brownies represent the kind of dessert that creates lasting memories – the kind people request for birthdays, holidays, and special celebrations because they know you’re the only one who makes them quite this perfectly. There’s something deeply satisfying about mastering a recipe with multiple components, where each layer builds upon the last to create something truly spectacular.
The beauty of this recipe lies not just in its impressive final presentation, but in how each step teaches you valuable baking skills that extend far beyond this single dessert. Learning to make smooth caramel opens doors to countless other recipes, while perfecting brownie texture gives you a foundation for endless variations and creative adaptations.
What I love most about these brownies is how they manage to be both elegant enough for sophisticated gatherings and comforting enough for cozy family moments. They represent the perfect balance of effort and reward – yes, they require a few extra steps compared to basic brownies, but the results are so extraordinary that every minute feels worthwhile.
The combination of rich chocolate, silky caramel, and tropical coconut creates flavor harmony that appeals to almost everyone, while the varied textures keep each bite interesting and satisfying. Whether you’re looking to impress guests, contribute something special to a potluck, or simply treat your family to something extraordinary, these brownies deliver on every level.
Give this recipe a try and prepare to become known as the person who makes “those amazing layered brownies.” The techniques you’ll learn and the smiles you’ll create make this recipe a valuable addition to your baking repertoire. Let me know in the comments how yours turn out and whether you discover any creative variations along the way – I love hearing about fellow bakers’ adventures in the kitchen!