
Bloody Brain Jello Recipe – Spooky Halloween Dessert
1. Introduction
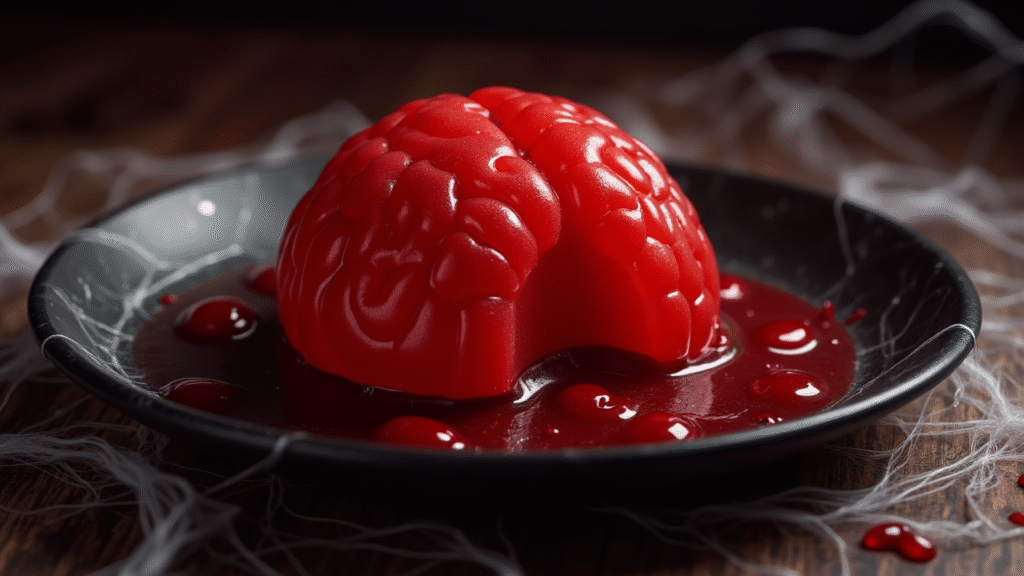
If you’re searching for a Halloween dessert that’s both spine-chilling and delicious, look no further than Bloody Brain Jello. This creepy-cool treat is shaped like a human brain, complete with red gelatin “blood” and wobbly, realistic texture that will have your guests doing a double-take before diving in for a bite.
The beauty of this recipe is its simplicity. You don’t need to be a pro baker or sculptor — just a silicone brain mold, some gelatin mix, and a little creativity. It’s make-ahead friendly, meaning you can prepare it the night before your party so it’s ready to impress.
In this post, you’ll learn:
- How to create the perfect brain texture using gelatin
- How to add that extra “bloody” effect for maximum creep factor
- Storage tips so your brain stays fresh until party time
Whether you’re hosting a haunted house bash, a Halloween movie night, or a school-friendly spooky snack table, this dessert is a guaranteed conversation starter.
2. Ingredients Breakdown
Here’s what you’ll need to make your Bloody Brain Jello come to life:
- Red gelatin mix (strawberry, raspberry, or cherry flavor) – The base for your brain’s “bloody” look. Strawberry gives a sweet, kid-friendly flavor, while raspberry adds tartness.
- Unflavored gelatin powder – Adds structure so the brain holds its shape when unmolded.
- Water – For dissolving the gelatin properly. Use cold and boiling water as directed for the best texture.
- Evaporated milk or condensed milk – Gives a pale, brain-like flesh tone when mixed into part of the gelatin.
- Silicone brain mold – The essential tool for shaping your dessert. Flexible molds make unmolding stress-free.
- Red food coloring (optional) – For a deeper, more dramatic “blood” hue.
- Corn syrup mixed with red food coloring (optional) – For drizzling extra “blood” over the finished brain.
Substitutions:
- For a vegetarian version, use agar-agar instead of gelatin.
- For a less sweet version, reduce the evaporated milk and add more water.
- For a flavor twist, mix half cherry gelatin and half grape for a darker, eerier shade.
3. Step-by-Step Instructions
Step 1 – Prepare the Brain Mold
Lightly grease your silicone brain mold with a thin layer of cooking spray. This helps the gelatin release cleanly without tearing.
Step 2 – Mix the Base Gelatin
In a large bowl, dissolve the red gelatin mix in boiling water (follow the package’s measurements). Stir until completely dissolved, then add cold water. For a richer texture, replace part of the cold water with evaporated milk for that realistic brain hue.
Step 3 – Create the Brain Color Layers
Pour a small amount of the pale gelatin mixture into the mold and refrigerate for 15 minutes to set slightly. This will form the “flesh” layer. Then add more concentrated red gelatin for the bloody core.
Step 4 – Chill Until Firm
Fill the mold completely and refrigerate for at least 6 hours, preferably overnight, until fully set.
Step 5 – Unmold Carefully
To release the brain, gently pull the mold edges away from the gelatin, then invert onto a serving platter. If needed, briefly dip the mold’s exterior in warm water to loosen it.
Step 6 – Add the Bloody Details
For a more gruesome look, drizzle the brain with a corn syrup and red food coloring mixture just before serving.
Step 7 – Serve and Shock
Place your masterpiece in the center of your Halloween dessert table and watch as guests hesitate… then dig in!
4. Tips and Variations
- For an ultra-realistic brain – Use evaporated milk for the outer layer and plain red gelatin for the inside to mimic the brain’s appearance when cut.
- Make it boozy – Swap part of the cold water for vodka or rum for an adults-only party.
- Glow under blacklight – Add tonic water to the gelatin for a glowing effect at a dark party.
- Mini brains – Use smaller molds for individual servings.
5. Serving Suggestions
- As the centerpiece of a Halloween dessert buffet surrounded by fake cobwebs and candy eyeballs.
- On a bed of “lettuce” leaves (green-tinted coconut shreds) for a quirky presentation.
- With whipped cream or ice cream for a sweeter touch.
- Drink pairing – Serve with cranberry juice cocktails, “blood” punch, or mulled wine.
6. Storage and Reheating Instructions
- Fridge: Store the brain covered in plastic wrap for up to 4 days.
- Freezer: Gelatin doesn’t freeze well, so freezing is not recommended.
- Reheating: Not applicable for gelatin desserts — serve chilled.
7. Recipe Notes
- Best made a day in advance for the cleanest unmolding.
- Use a flexible silicone mold for easy removal.
- If making for kids, skip alcohol and extra food coloring.
8. Nutrition Information (Per Serving)
| Nutrient | Amount |
|---|---|
| Calories | 140 kcal |
| Fat | 1 g |
| Saturated Fat | 0.5 g |
| Carbohydrates | 32 g |
| Sugar | 29 g |
| Fiber | 0 g |
| Protein | 3 g |
| Sodium | 45 mg |
| Cholesterol | 5 mg |
| Calcium | 40 mg |
| Iron | 0.3 mg |
Nutrition information is an estimate and may vary based on specific ingredients used.
9. Recipe Card Summary
Course: Dessert
Cuisine: Halloween / Themed Party
Servings: 8
Prep Time: 20 minutes
Cook Time: 0 minutes
Chill Time: 6 hours
Total Time: 6 hours 20 minutes
Ingredients:
- 2 packages red gelatin mix (6 oz each)
- 2 envelopes unflavored gelatin
- 2 cups boiling water
- 1 cup cold water
- 1 cup evaporated milk
- Red food coloring (optional)
- Corn syrup + red food coloring (optional for drizzle)
- Silicone brain mold
Instructions:
- Lightly grease brain mold.
- Dissolve red gelatin in boiling water, stir well.
- Add cold water and evaporated milk, stir.
- Pour part of mixture for pale outer layer, chill 15 min.
- Add rest of gelatin for inner core, chill 6 hours.
- Unmold carefully.
- Drizzle with red syrup if desired, serve chilled.
Notes:
- Prepare a day ahead for best shape.
- Use small molds for individual servings.
🏷️ Diet Tags: Gluten-free, Vegetarian-friendly (if using agar-agar)
🌿 Health Benefits: Low in fat, portion-controlled, easy to make sugar-reduced versions.
FAQs:
Q: Can I use a plastic mold instead of silicone?
A: Yes, but removal is trickier — line with plastic wrap for easier release.
Q: Can I make it a different color?
A: Absolutely — green for zombie brains, purple for alien brains.
Q: How far in advance can I make it?
A: Up to 3–4 days in advance, kept refrigerated.
10. Final Thoughts
Whether you want to scare your friends, amaze your kids, or simply create a Halloween dessert that people will remember, this Bloody Brain Jello recipe is a surefire winner. It’s easy, fun, and endlessly customizable to suit your party’s theme.
Give it a try, and when you do, I’d love to hear how your guests reacted — share your stories and photos in the comments below.