
Cherry Pie – Classic Lattice-Crust Dessert Bursting with Juicy Cherries
Introduction Paragraph
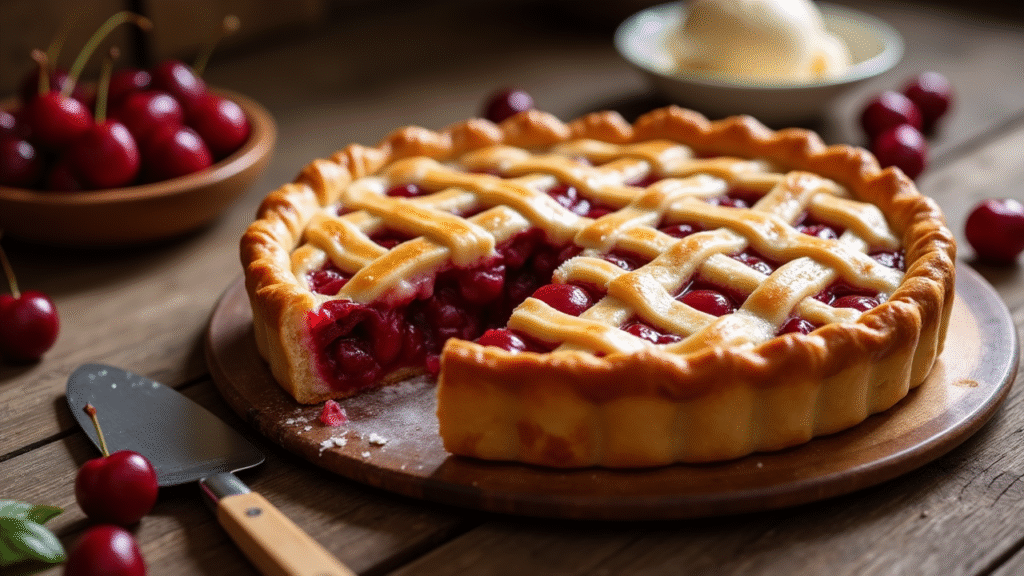
There’s nothing quite like a homemade Cherry Pie—warm, juicy, and beautifully tucked under a golden lattice crust. This timeless dessert celebrates the natural sweetness and slight tartness of cherries, making it a favorite for both summer and holiday tables. Whether you serve it plain, with whipped cream, or a scoop of vanilla ice cream, it’s pure nostalgia in every bite.
🕒 Prep and Bake Time
- Prep Time: 25 minutes
- Cook Time: 50–60 minutes
- Cooling Time: 2–3 hours
- Total Time: ~3.5 hours
- Servings: 8 slices
📝 Ingredients List
For the Filling:
- 4 cups fresh or frozen pitted cherries
- ¾ cup granulated sugar
- 2 tablespoons cornstarch
- 1 tablespoon lemon juice
- ½ teaspoon vanilla extract
- ⅛ teaspoon almond extract (optional, but adds depth)
- Pinch of salt
For the Crust (or use store-bought):
- 2½ cups all-purpose flour
- 1 cup unsalted butter, cold and cubed
- 1 teaspoon salt
- 1 teaspoon sugar
- 6–8 tablespoons ice water
- 1 egg (for egg wash)
- 1 tablespoon coarse sugar (optional, for topping)
👩🍳 Instructions
Step 1: Prepare the Pie Dough
In a large bowl, mix flour, salt, and sugar. Cut in cold butter until pea-sized crumbs form. Gradually add ice water until the dough just holds together. Divide into two disks, wrap in plastic, and chill for at least 1 hour.
Step 2: Make the Cherry Filling
In a saucepan, combine cherries, sugar, cornstarch, lemon juice, vanilla, almond extract, and salt. Cook over medium heat until the mixture thickens and becomes glossy, about 8–10 minutes. Let cool.
Step 3: Roll and Assemble
Preheat oven to 400°F (200°C). Roll out one dough disk and line a 9-inch pie dish. Pour in the cooled cherry filling. Roll out the second disk and cut into strips for a lattice pattern. Weave the strips over the pie, trim edges, and crimp to seal.
Step 4: Bake
Brush the lattice crust with beaten egg and sprinkle with coarse sugar. Bake for 50–60 minutes, until the crust is golden and the filling is bubbly. If the edges brown too quickly, cover them with foil.
Step 5: Cool and Serve
Let the pie cool completely for the filling to set properly. Serve at room temperature or slightly warmed with ice cream or whipped cream.
🍒 Why You’ll Love This Pie
- Fresh or Frozen Friendly: Works with either for year-round baking
- Beautiful Presentation: Lattice crust makes it a visual centerpiece
- Rich Flavor: Balanced sweetness with a hint of almond and vanilla
- Crowd-Pleaser: A dessert that never fails to impress
❓ FAQs
Q: Can I use canned cherries?
A: Yes, but make sure they’re not cherry pie filling—use pitted sour cherries in water and adjust sugar accordingly.
Q: Can I freeze Cherry Pie?
A: Yes! You can freeze the assembled unbaked pie or freeze baked slices. Wrap tightly and consume within 2 months.
Q: What if I don’t want to make a lattice top?
A: No problem! Use a solid top crust, cut slits for steam, or use cookie cutters for a fun design.
📊 Nutritional Information (per slice – approximate)
| Nutrient | Amount |
|---|---|
| Calories | 390–420 kcal |
| Fat | 22 g |
| Carbs | 45–50 g |
| Sugar | 20–25 g |
| Fiber | 2–3 g |
| Protein | 4–5 g |
🏷️ Diet Tags or Labels
🥧 Classic Dessert • 🍒 Fruit-Based • 🍽️ Holiday & Summer Treat • 🌿 Vegetarian
🍽️ Conclusion
Whether it’s the 4th of July, a Sunday dinner, or simply a craving for something sweet and homey, this Cherry Pie is always a good idea. With its flaky crust, juicy filling, and charming lattice top, it’s the kind of dessert that makes memories. Grab a slice—and don’t forget the ice cream.
