
Chocolate Peanut Butter Banana Milkshake Recipe | Creamy & Indulgent
1. Introduction
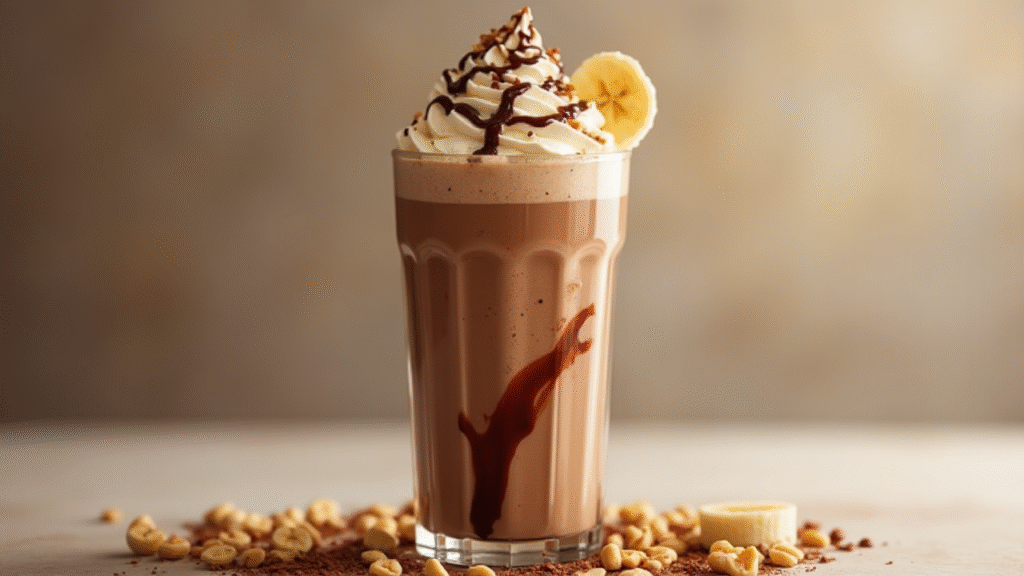
If you’re craving something indulgent, creamy, and packed with flavor, look no further than this Chocolate Peanut Butter Banana Milkshake! Imagine the smooth, rich combination of peanut butter and chocolate blending perfectly with the natural sweetness of ripe bananas. This milkshake is not only delicious but also comforting and customizable, making it perfect for anyone with a sweet tooth.
This milkshake is a treat for the senses—it’s thick, creamy, and packed with all the right ingredients to hit those craving buttons. The best part? It’s super easy to make! Whether you’re looking for a sweet after-dinner dessert, a mid-day indulgence, or a fun drink to serve at a party, this Chocolate Peanut Butter Banana Milkshake is sure to please everyone.
In this recipe, you’ll learn how to make this milkshake in just a few simple steps. Plus, I’ll give you tips on how to customize the milkshake to fit your tastes and dietary preferences. Let’s dive in and make this delicious treat together!
2. Ingredients Breakdown
- Bananas: Bananas are the base of this milkshake, providing a naturally sweet and creamy texture. They also give the milkshake its thickness. For the best flavor, use ripe bananas, as they will be sweeter and smoother. If you want a colder, thicker milkshake, you can use frozen bananas.
- Peanut Butter: Peanut butter adds that rich, nutty flavor that perfectly complements the sweetness of the bananas. Use creamy peanut butter for a smooth texture, but chunky peanut butter will add some delightful crunch if you prefer that. For a lighter version, you can opt for natural peanut butter without added sugar or oils.
- Chocolate Syrup: The chocolate syrup brings an indulgent chocolatey depth to the milkshake. It’s what turns this treat into a true dessert. For an extra chocolatey flavor, you can use chocolate fudge sauce or even a few spoonfuls of cocoa powder.
- Vanilla Ice Cream: Vanilla ice cream makes the milkshake creamy and rich. It’s a classic base for milkshakes and balances out the flavors of the banana, chocolate, and peanut butter. You can use dairy-free ice cream if needed or substitute with a scoop of frozen yogurt for a slightly tangy version.
- Whole Milk: Whole milk provides the perfect creamy base for your milkshake. If you’re looking for a lighter option, you can swap it out with skim milk, almond milk, or oat milk. If you want an ultra-rich version, heavy cream works wonderfully.
- Ice: Ice is an essential ingredient for creating the perfect milkshake texture. It helps thicken the drink while also keeping it cold and refreshing. Adjust the amount of ice based on your preferred milkshake consistency.
3. Step-by-Step Instructions
- Prepare the Bananas: Start by peeling 1-2 ripe bananas and cutting them into chunks. If you’re using frozen bananas, you can skip this step and use them directly from the freezer. The frozen bananas will give the milkshake a thicker, creamier texture.
- Add Peanut Butter and Ice Cream: In a blender, combine the banana chunks, 2 tablespoons of peanut butter, and 2-3 scoops of vanilla ice cream. If you like a stronger peanut butter flavor, feel free to add a bit more peanut butter!
- Pour in Milk: Add 1 cup of whole milk to the blender. For a thicker milkshake, use less milk, or for a thinner milkshake, add a little more. You can also use a milk alternative like almond or oat milk if you prefer a dairy-free version.
- Add Chocolate Syrup: Drizzle in 3 tablespoons of chocolate syrup. For extra chocolate flavor, you can increase this to 4 tablespoons or add a spoonful of cocoa powder.
- Blend Until Smooth: Blend the ingredients on medium-high speed until smooth and creamy. Make sure everything is fully combined and the milkshake reaches your desired consistency. If it’s too thick, add a little more milk; if it’s too thin, add more ice cream or bananas.
- Taste and Adjust: Taste your milkshake, and if you feel it needs more sweetness, add a little extra honey, maple syrup, or a few more chocolate syrup drizzles. Blend again to combine.
- Serve: Pour the milkshake into tall glasses, leaving room at the top for whipped cream. Add a swirl of whipped cream on top, drizzle more chocolate syrup, and garnish with banana slices or crushed peanuts for added flavor and texture.
4. Tips and Variations
- Frozen Bananas: If you want a thicker, colder milkshake, freeze your bananas ahead of time. Frozen bananas create a creamy texture without needing too much ice, making your milkshake richer and more indulgent.
- Vegan/Non-Dairy Version: Swap the vanilla ice cream for dairy-free ice cream made from coconut or almond milk. Use almond or oat milk as the base, and make sure to use natural peanut butter without added sugars or oils for a healthier version.
- Peanut Butter Alternatives: If you’re allergic to peanuts or just prefer a different flavor, try using almond butter, cashew butter, or even sunflower seed butter as a substitute for peanut butter.
- Add-ins and Extras: You can add extra ingredients to make the milkshake even more indulgent. Try adding a handful of chocolate chips for extra chocolatey goodness, or a spoonful of protein powder to boost the nutritional value. For a tropical twist, add a few pieces of frozen pineapple or coconut flakes.
5. Serving Suggestions
- Pairing with Snacks: This milkshake is a perfect dessert on its own, but you can pair it with light snacks like fruit salad, granola bars, or a few pieces of dark chocolate for a sweet and salty combination.
- Presentation Ideas: For an extra touch of fun, serve the milkshake in mason jars or retro-style milkshake glasses. You can also drizzle some chocolate syrup inside the glass before pouring the milkshake to give it a beautiful, artistic swirl effect.
- Perfect for Parties: This milkshake is perfect for kids’ parties, family get-togethers, or even a casual dessert night. You can make a big batch and serve it in fun cups with colorful straws to make it a hit at any occasion.
6. Storage and Reheating Instructions
Milkshakes are best served fresh, but if you have leftovers, you can store them in an airtight container in the freezer for up to 24 hours. When you’re ready to enjoy it again, allow the milkshake to thaw slightly before serving. You can blend it with a little more milk to regain the creamy consistency.
Reheating: Milkshakes are meant to be enjoyed cold, so there’s no need to reheat them. However, if they’re too thick after being stored, just give them a quick blend with some additional milk.
7. Recipe Notes
- Prep Ahead: You can prep the bananas ahead of time and store them in the freezer. This helps speed up the process when you’re ready to make the milkshake.
- Adjust Sweetness: Depending on the ripeness of your bananas and your personal sweetness preference, you may not need much additional sweetener. Taste as you go to find the perfect balance.
- Use a High-Powered Blender: For the smoothest texture, use a high-powered blender that will ensure the bananas and peanut butter are blended into a creamy, lump-free consistency.
8. Nutrition Information (Per Serving)
| Nutrient | Value per Serving |
| Calories | 450 |
| Fat | 23g |
| Saturated Fat | 4g |
| Carbs | 55g |
| Sugar | 45g |
| Fiber | 4g |
| Protein | 8g |
| Sodium | 160mg |
| Cholesterol | 35mg |
| Calcium | 150mg |
| Iron | 1.2mg |
Nutrition information is an estimate and may vary based on specific ingredients used.
9. Recipe Card Summary
- Course: Dessert, Drink
- Cuisine: American
- Servings: 2
- Prep Time: 5 minutes
- Cook Time: 0 minutes
- Total Time: 5 minutes
Ingredients:
- 1-2 ripe bananas, cut into chunks
- 2 tablespoons peanut butter
- 2-3 scoops vanilla ice cream
- 1 cup whole milk (or dairy-free milk)
- 3 tablespoons chocolate syrup
- ½ cup ice cubes
- Whipped cream for topping
- Banana slices and crushed peanuts for garnish (optional)
Instructions:
- Add bananas, peanut butter, ice cream, and milk to the blender.
- Blend until smooth and creamy.
- Add chocolate syrup and blend again.
- Taste and adjust sweetness as needed.
- Pour into glasses and top with whipped cream and garnishes.
Notes: Best served fresh.
Nutrition Information: See above.
10. Final Thoughts or Conclusion
This Chocolate Peanut Butter Banana Milkshake is a true indulgence. It’s a treat that’s rich, creamy, and packed with all the flavors you love. Whether you’re enjoying it as a quick snack, dessert, or a fun drink for a gathering, this milkshake is sure to please everyone.