
Mummy Cupcakes Recipe – Spooky Halloween Cupcake Idea for Kids
Introduction
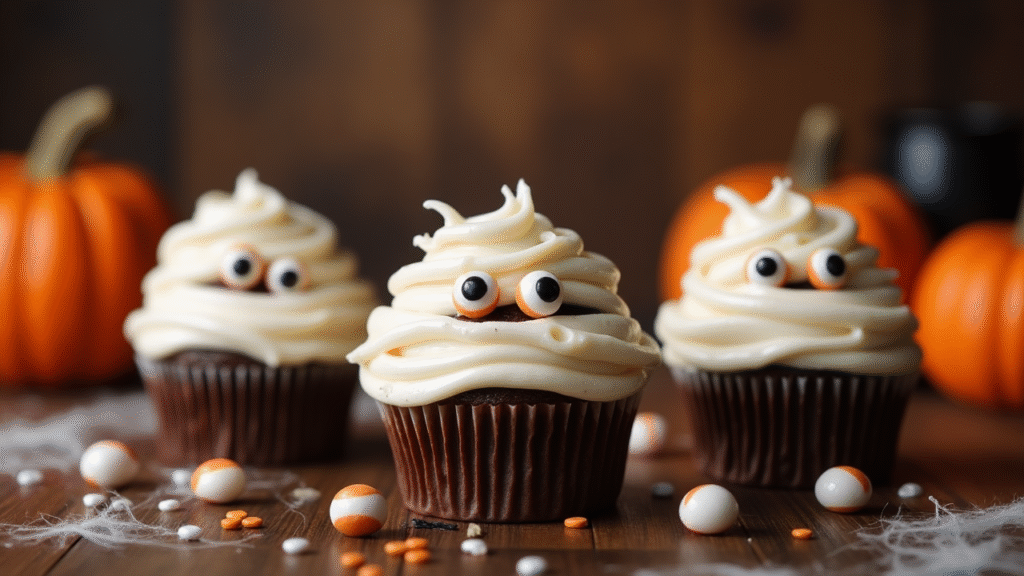
Looking for a fun and festive Halloween dessert? These Mummy Cupcakes are a scream! Soft, moist cupcakes are wrapped in sweet frosting bandages with goofy candy eyes peeking out—perfect for school parties, trick-or-treat celebrations, or Halloween bake sales. Whether you bake from scratch or use a box mix, these are easy to decorate and absolutely adorable.
⏲ Prep & Cook Time
- Prep Time: 20 minutes
- Cook Time: 20 minutes
- Decorating Time: 20 minutes
- Total Time: 1 hour
- Servings: 12 cupcakes
🧁 Ingredients
For the Cupcakes:
- 1 box chocolate or vanilla cake mix (or your favorite cupcake recipe)
- Ingredients as required on box (typically eggs, oil, and water)
- OR make 12 cupcakes from scratch using your go-to recipe
For the Frosting & Decorations:
- 2 cups vanilla buttercream frosting
- White food coloring (optional for brighter white)
- Candy eyeballs (24 total – 2 per cupcake)
- Piping bag fitted with a flat or ribbon tip (e.g., Wilton #47 or #44)
- Optional: chocolate chips or ganache for extra mummy detail
🧑🍳 Instructions
1. Bake the Cupcakes
Prepare and bake your cupcakes according to your recipe or box instructions. Let them cool completely before decorating to prevent frosting from melting.
2. Prepare the Frosting
Whip or mix your buttercream until light and fluffy. Add white gel food coloring if needed to make the frosting bright white for a true mummy look.
3. Attach the Eyes
Add a small dab of frosting where you want the eyes to peek out. Gently press two candy eyeballs into the top of each cupcake, spacing them slightly apart.
4. Pipe the Mummy Bandages
Fill your piping bag with the white frosting. Starting above and below the eyes, pipe crisscrossing lines across the cupcake to mimic wrapped bandages. Don’t cover the eyes—let them peek through!
5. Add Extra Details (Optional)
Use chocolate ganache, melted chocolate, or edible marker to add stitches, cracks, or shadows for a more “aged mummy” effect.
6. Let Them Set
Place the finished cupcakes in the fridge for about 10–15 minutes to firm up the frosting before serving.
🎃 Suggested Add-ons or Toppings
- Add crushed Oreos as “dirt” around the cupcake base
- Use different color eyes for a silly twist
- Add a drop of red food gel for a “zombie mummy” version
- Decorate cupcake liners with spooky prints
💪 Health Benefits
While these are indulgent Halloween treats, you can use low-sugar cake mix, dairy-free buttercream, or gluten-free cupcake bases to make them more allergy- and diet-friendly. They’re also nut-free when made with safe ingredients.
❓ FAQs
Q: Can I use store-bought cupcakes?
A: Absolutely! This is a great shortcut—just decorate them with the mummy design.
Q: How do I keep frosting from melting while decorating?
A: Make sure cupcakes are completely cooled and your frosting isn’t too soft. You can chill it slightly if needed.
Q: How far ahead can I make these?
A: You can bake and frost them a day ahead. Store in an airtight container at room temperature or refrigerated for up to 2 days.
Q: Can kids help decorate?
A: Yes! This is a perfect recipe to let little ones get creative with frosting and eyeballs.
🍬 Nutritional Information (Per Cupcake, Approx.)
| Nutrient | Amount |
|---|---|
| Calories | 250 kcal |
| Carbs | 32 g |
| Sugars | 24 g |
| Fat | 12 g |
| Protein | 2 g |
| Fiber | 1 g |
🧁 Diet Tags or Labels
Halloween • Kid-Friendly • Party Food • Nut-Free (optional) • Fun Treats
🕸 Conclusion
These Mummy Cupcakes are scary-simple and super fun to make! With just a few ingredients and a bit of piping, you’ll have a tray of spooky-cute Halloween cupcakes ready to haunt your dessert table. They’re sweet, soft, and oh-so-mummified—perfect for a fang-tastic party!